
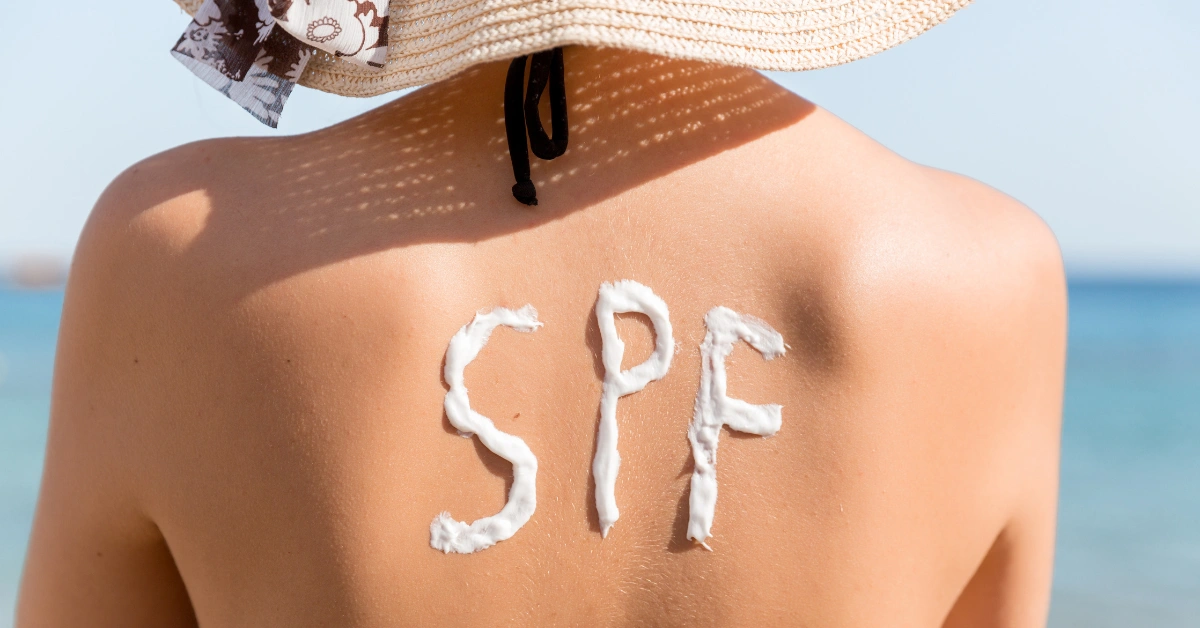
When it comes to sun protection, not all sunscreens are created equal. With so many products on the market, it can be overwhelming to decide which one is best for your skin. Among the various options, sunscreens with mineral (physical) filters have gained popularity for being safer and more natural than those with chemical filters. These mineral sunscreens sit on top of the skin, reflecting harmful UV rays, making them a preferred option for people with sensitive skin. In this post, we’ll dive into the benefits of mineral filters, compare them with chemical filters, and guide you through making your own natural SPF cream at home.
Physical vs. Chemical Filters: Which One is Better for Your Skin?
| Filter Type | Benefits | Cons |
|---|---|---|
| Physical (Mineral) | – Provides immediate sun protection – Less irritating for sensitive skin – Safe for children – Non-toxic – Reflects UV rays instead of absorbing them | – May leave a white cast on the skin – Can feel thicker on the skin |
| Chemical | – Lightweight, non-greasy feel – Easier to apply without leaving a visible residue | – Can cause skin irritation or allergic reactions – Absorbs into the skin and may cause long-term health concerns |
Why Mineral Filters Are Better for Your Health:
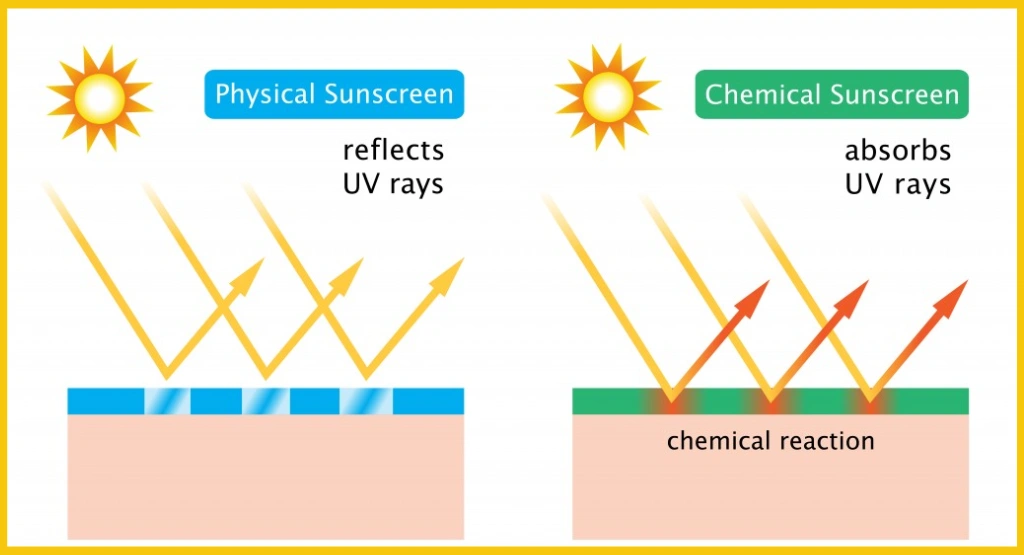
Image Credit: mw-fp
Mineral sunscreens, which use ingredients like zinc oxide and titanium dioxide, physically block UV rays from reaching the skin. Unlike chemical filters, these ingredients don’t penetrate the skin, making them safer and less likely to cause skin reactions. They’re also better for people with sensitive or acne-prone skin, and they’re an eco-friendly option, as they’re less harmful to coral reefs.
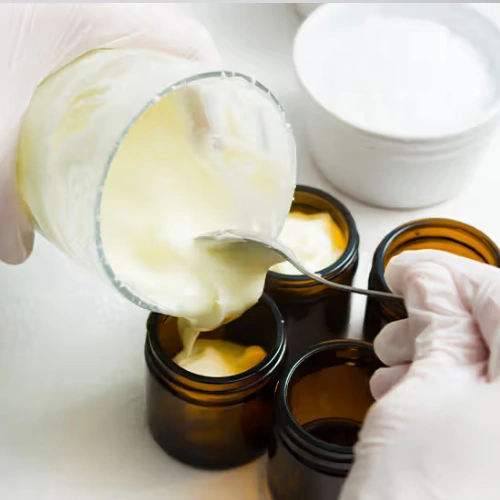
DIY Mineral SPF Cream Recipe
What You’ll Need:
- 2 tablespoons zinc oxide powder (non-nano, as it doesn’t penetrate the skin)
- 1 tablespoon shea butter (hydrates and nourishes)
- 1 tablespoon coconut oil (moisturizes and soothes)
- 1 tablespoon beeswax (helps the cream stay solid and creates a water-resistant barrier)
- 2 tablespoons aloe vera gel (calms and hydrates)
- 10 drops lavender essential oil (optional, for a soothing scent)
- 2 tablespoons jojoba oil (balances and nourishes)
How to Make It:
- In a double boiler, melt the shea butter, coconut oil, and beeswax until fully liquefied.
- Once melted, remove the mixture from heat and let it cool for a minute.
- Stir in the zinc oxide powder carefully, ensuring it’s well-blended.
- Add aloe vera gel and jojoba oil, mixing thoroughly.
- Add a few drops of lavender essential oil for a pleasant fragrance.
- Pour the mixture into a small glass jar or container and allow it to cool completely before sealing.
Tips for Using Your Mineral SPF Cream:
- Apply generously to all exposed skin 15-20 minutes before sun exposure.
- Reapply every 2 hours or immediately after swimming or sweating for maximum protection.
- Use a pea-sized amount for your face and adjust for body application.
How to Store:
- Store your homemade SPF cream in a cool, dry place. The shelf life is about 6 months, but it’s best to use it within 2-3 months for optimal freshness.
- Keep it in an airtight container to avoid contamination.
- If you notice any separation or changes in texture, discard and make a fresh batch.
By making your own SPF cream with mineral filters, you can enjoy the benefits of natural sun protection without worrying about harmful chemicals. Your skin will thank you!